Create Payment Processor
Step-by-step guide to creating and configuring a payment processor for handling payments in your application.
What is a payment processor? It’s an intermediary between your application and payment systems (Stripe/Paddle) that processes transactions and manages subscriptions. Read mode
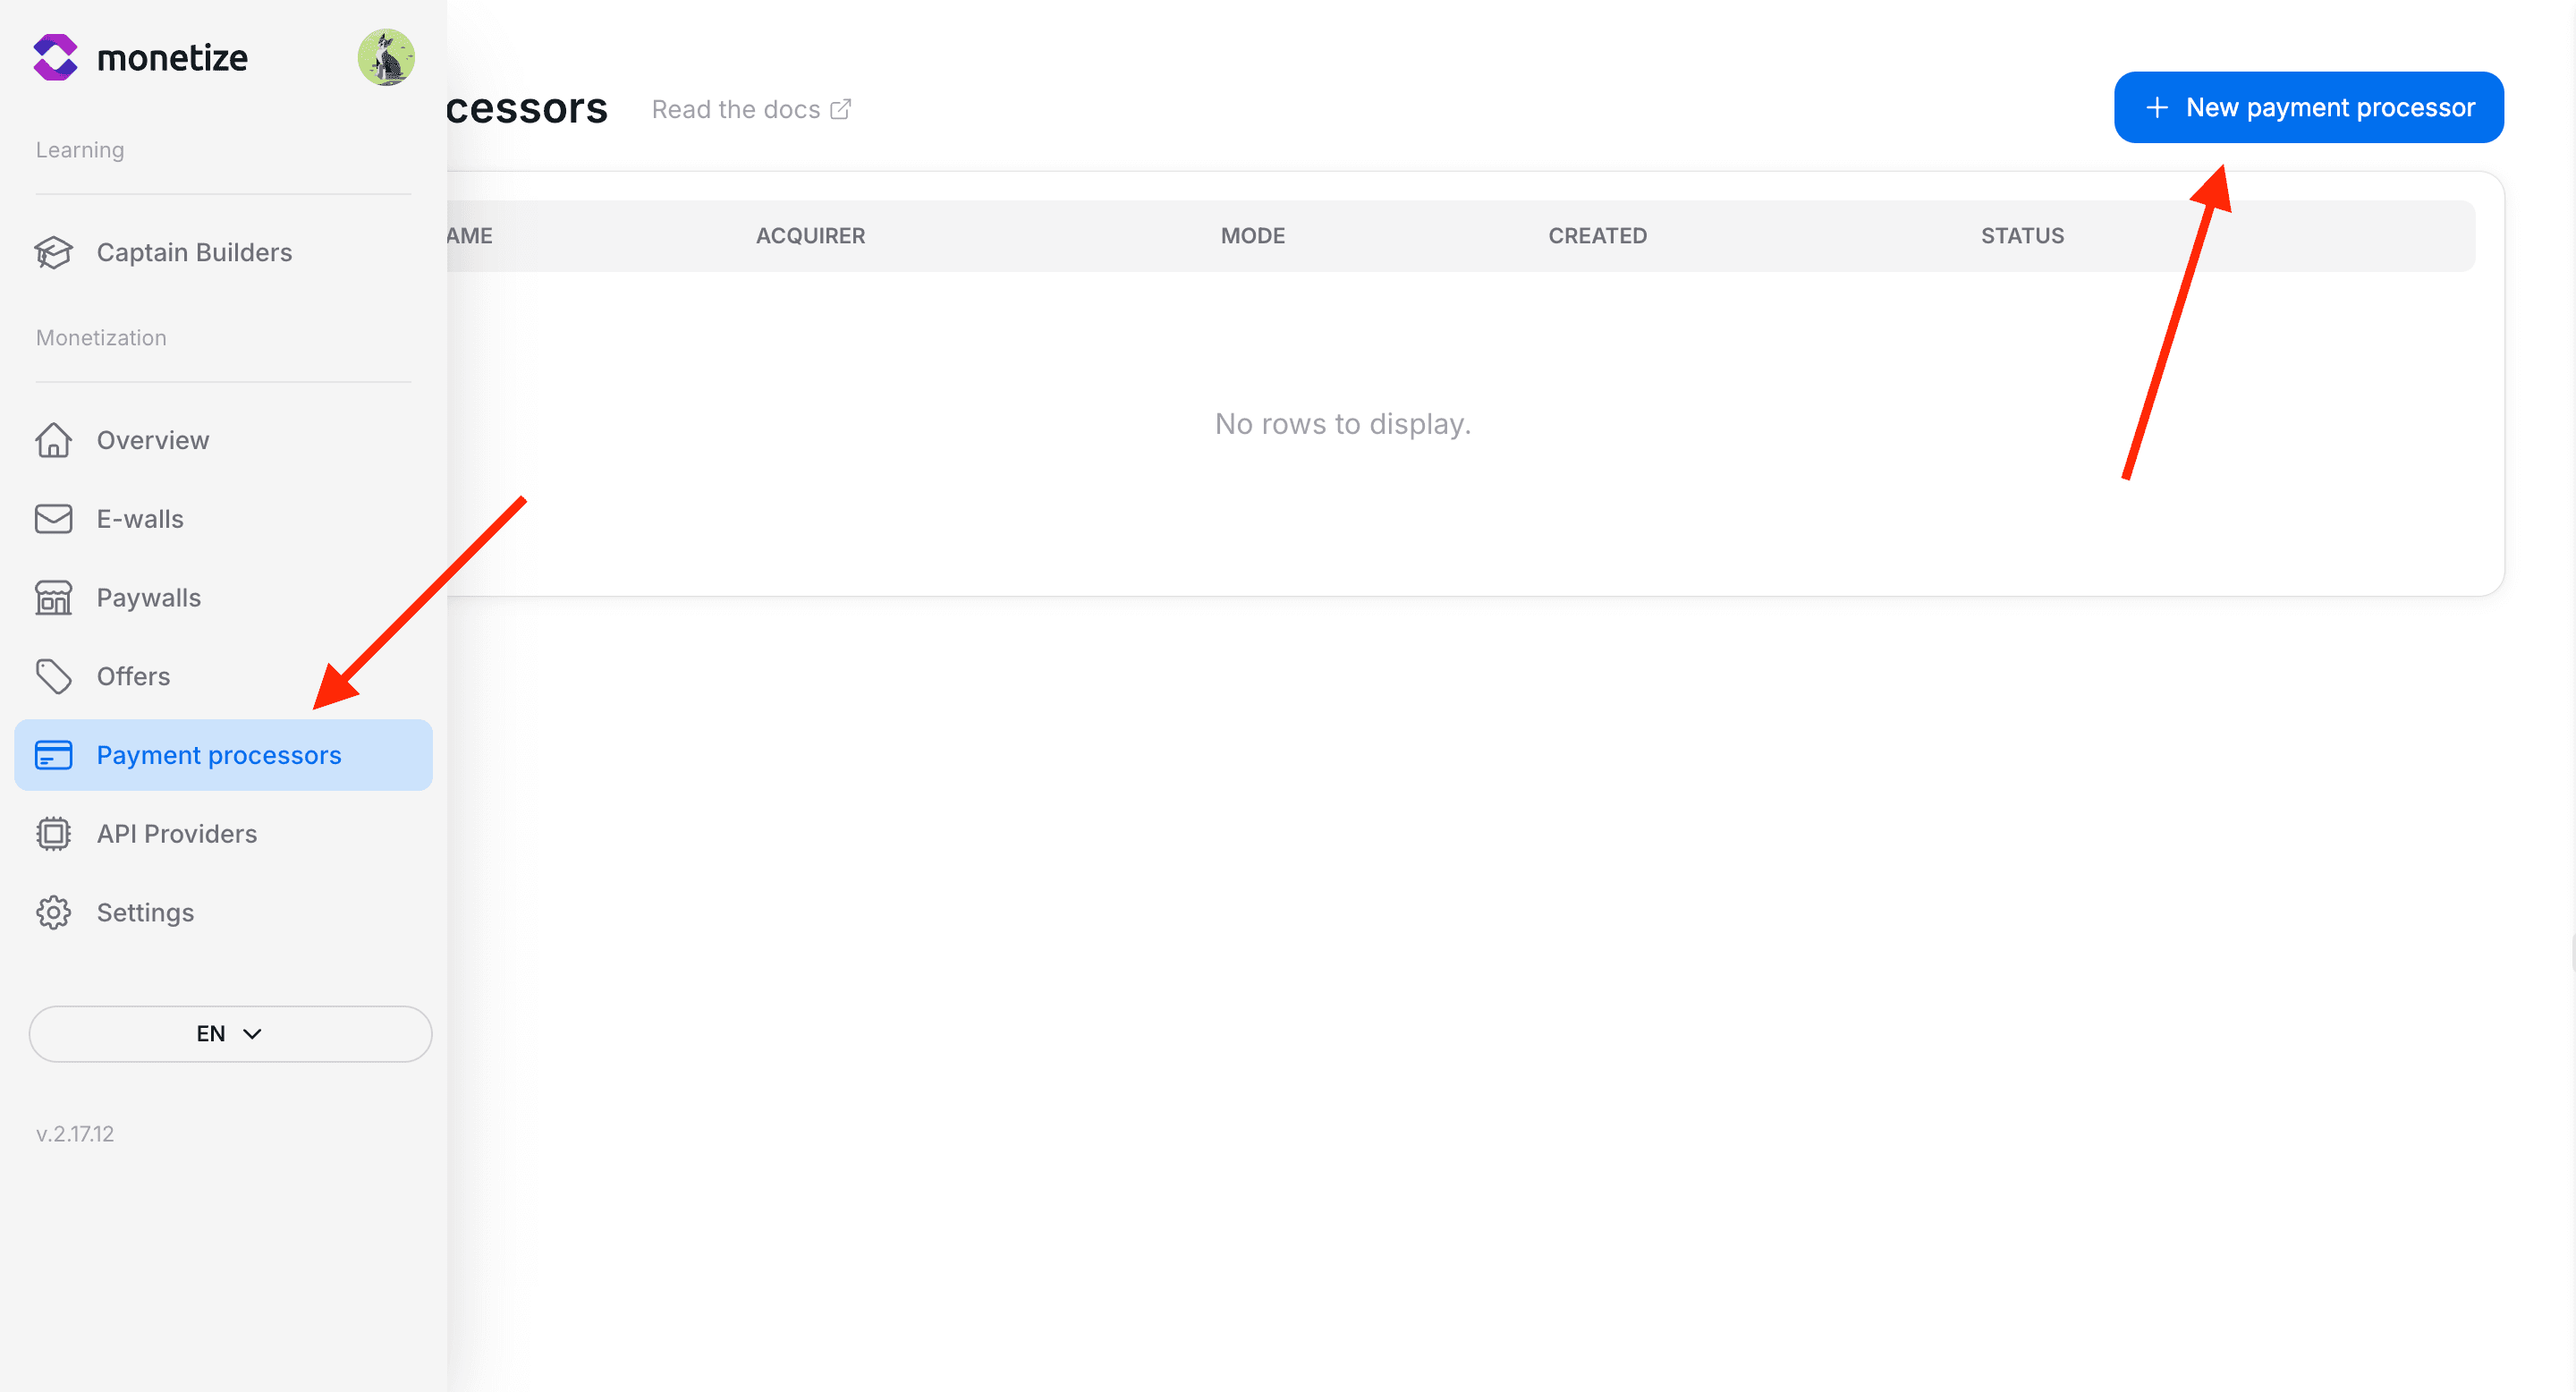
Step 1: Creating a New Payment Processor
Navigate to the “Payment Processors” section and click the “New Payment Processor” button.
Step 2: Choose Payment System
Select one of the supported payment systems:
Stripe
Stripe Popular payment system with wide support for cards and payment methods. Advantages: - Support for most bank cards - Global coverage - Simple integration - Detailed analytics Best for: - International projects - SaaS applications - Web services
Step 3: Choose Operation Mode
Configure the payment processor operation mode:
| Mode | Description | Usage |
|---|---|---|
| Test | Mode for development and testing | Development, debugging, testing |
| Live (Production) | Mode for real payments | Production application |
Important! Always start with test mode. After configuring and testing all functions, you can switch to production mode.
Step 4: Payment Processor Configuration
Stripe
If you chose Stripe, you need to configure API keys:
You can find API keys in the Stripe dashboard (for test mode: test keys )
Required data for Stripe:
| Field | Description | Format |
|---|---|---|
| Publishable Key | Public key for client-side | pk_test_... or pk_live_... |
| Secret Key | Secret key for server-side | sk_test_... or sk_live_... |
Security: Never expose the secret key. It should only be used on the server.
Additional Stripe settings:
- Customer Portal: Configure customer portal in Stripe settings
- Webhooks: The system will automatically create a webhook for event processing
Step 5: Save
After filling in all fields:
- Key validation: The system will automatically verify the correctness of API keys
- Webhook creation: A webhook for event processing will be created automatically
- Activation: The processor will be activated and ready to use
Troubleshooting
Stripe key validation error
Check: - Correctness of copied keys - Key compliance with selected mode (test/live) - Access permissions in Stripe account
Paddle key validation error
Make sure that: - API Key is created with “Never Expires” and full permissions - Vendor ID contains only numbers - You’re using the correct environment (sandbox/production)
Freemius key validation error
Make sure that: - Product ID is numeric and matches the product in your Freemius dashboard - API Token is generated under Settings → API Token for the same product - Public/Secret keys correspond to the selected mode (Sandbox keys for test, Production keys for live) - The API Token has not been revoked
Next Steps
After creating the payment processor:
Best Practices
- Security: Never store API keys in plain text
- Testing: Always test payments before going live