Customer Portal
Server Mode Paywalls: This documentation is for client mode paywalls only. If your paywall is configured in server mode, you’ll need to use the server-side SDK to generate customer portal links. See Server-Side Customer Portal documentation.
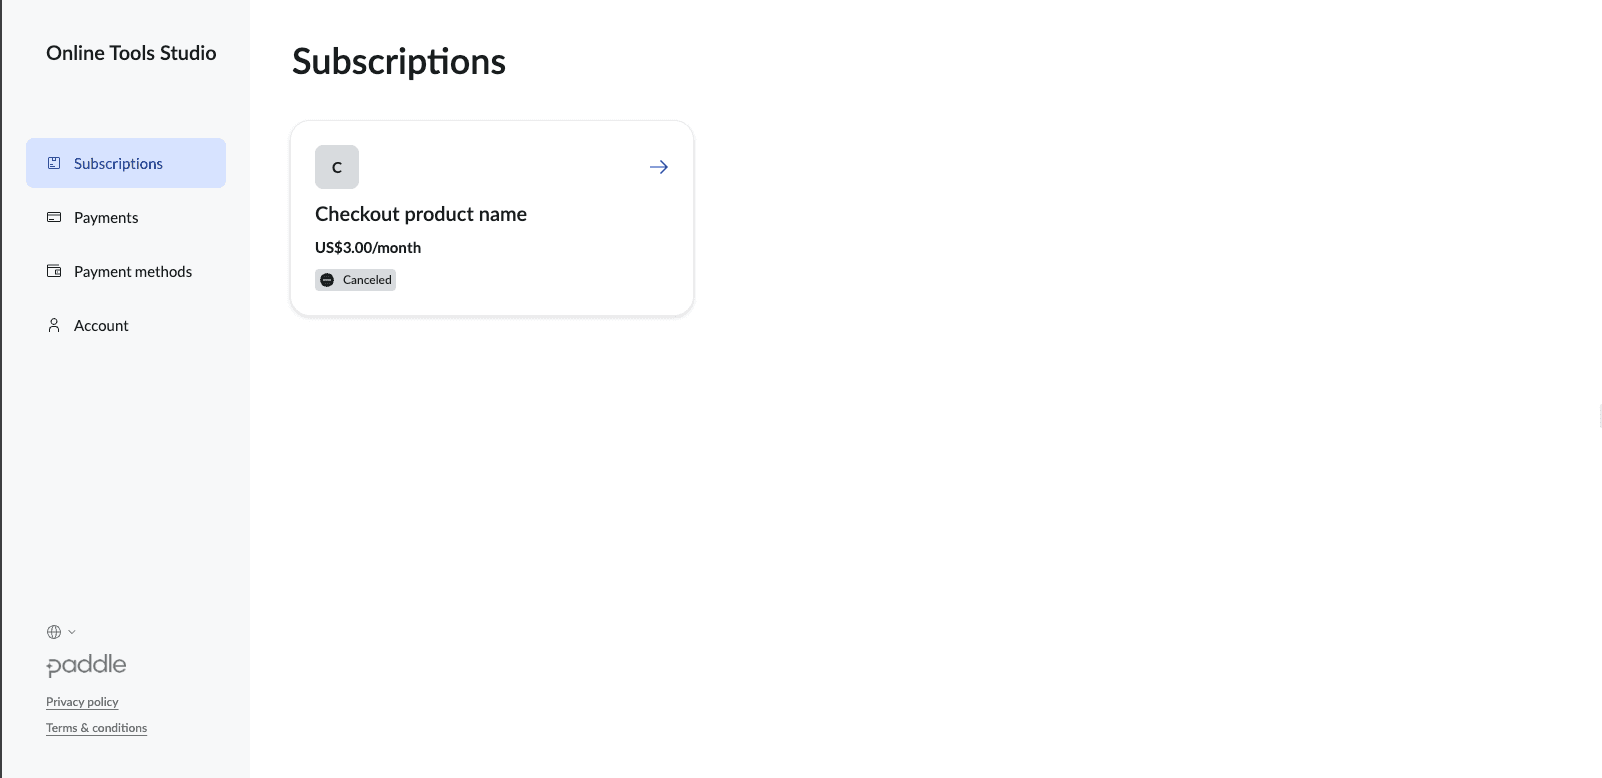
Learn how to provide users with a self-service portal where they can manage their subscriptions, update payment methods, view billing history, and control their account settings.
Overview
The customer portal is a secure, hosted page that allows your subscribers to:
- Manage subscriptions - Upgrade, downgrade, or cancel plans
- Update payment methods - Change credit cards or payment details
- View billing history - Access invoices and payment records
- Download receipts - Get proof of payment for tax purposes
- Manage account details - Update personal information
How to Access Customer Portal
Portal URL Structure
The customer portal is accessible via a direct URL with your paywall ID:
https://appbox.space/paywall/{{PAYWALL_ID}}/customer-portal/getFinding Your Paywall ID
- Open your paywall settings in the dashboard
- Look at the address bar - the paywall ID appears in the URL
- Example: If the URL shows
/paywall/197/settings, your paywall ID is197
Complete Example
If your paywall ID is 100, the customer portal URL will be:
https://appbox.space/paywall/100/customer-portal/getOpen Support Form via URL
To open the Support form directly when the customer portal loads, append the tab query parameter:
tab=support— opens the Support form by default
Example:
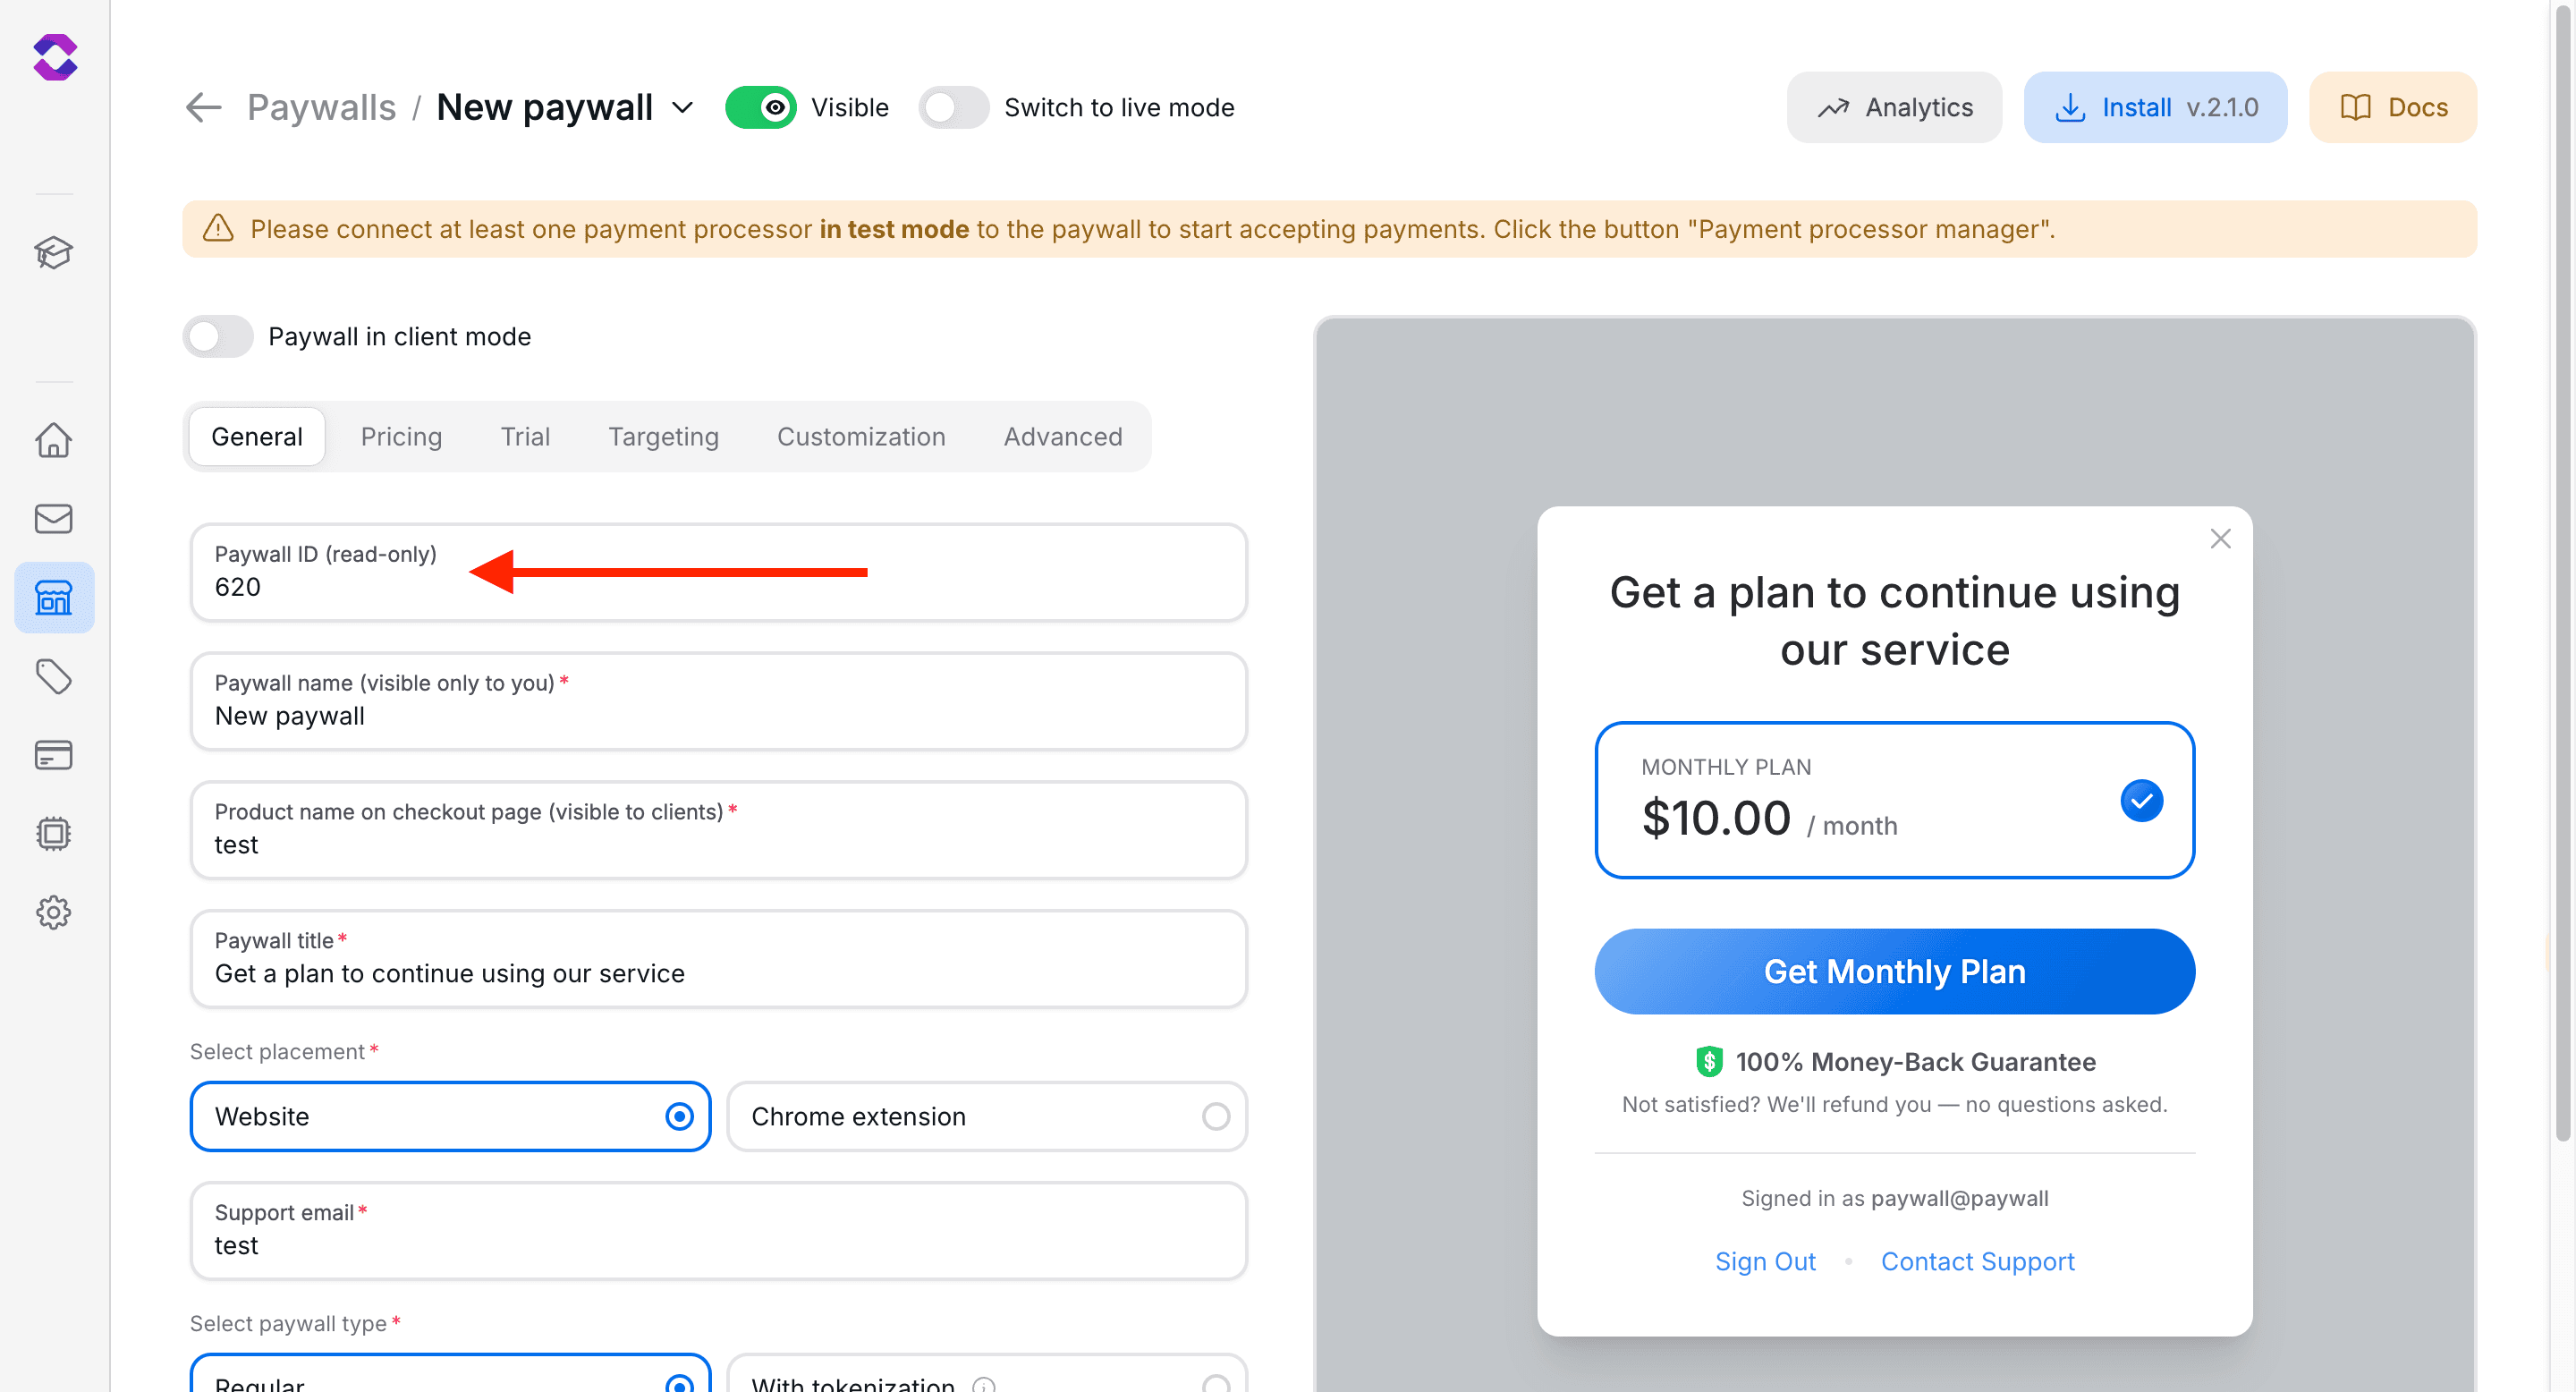
https://appbox.space/paywall/100/customer-portal/get?tab=supportStep 1: Get Your Paywall ID
Navigate to your paywall settings page and get the ID from the Paywall ID field:
Step 2: Share Portal Access
Provide the customer portal link to your users through:
- In-app links - Add “Manage Subscription” buttons
- Email communications - Include in subscription confirmations
- Support responses - Direct users for self-service
- Account pages - Embed in user dashboards
Step 3: Test Portal Access
Before sharing with users:
- Visit the portal URL with your paywall ID
- Verify it loads correctly without 404 errors
- Test subscription management functions
- Ensure payment processor settings are configured
Integration Examples
In Your Application
Add customer portal links throughout your app:
// React example
const CustomerPortalButton = ({ paywallId }) => {
  const portalUrl = `https://appbox.space/paywall/${paywallId}/customer-portal/get`;

  return (
    <a href={portalUrl} target="_blank" rel="noopener">
      Manage Subscription
    </a>
  );
};
In Email Templates
Include portal access in automated emails:
<!-- Email template example -->
<p>Manage your subscription:</p>
<a href="https://appbox.space/paywall/{{PAYWALL_ID}}/customer-portal/get">
  Visit Customer Portal
</a>
Support Documentation
Create help articles with portal instructions:
## How to Cancel Your Subscription

1. Visit your customer portal: https://appbox.space/paywall/[YOUR_ID]/customer-portal/get
2. Click "Cancel Subscription"
3. Follow the confirmation steps
Payment Processor Requirements
Stripe Configuration
For Stripe-powered paywalls, ensure the customer portal is configured:
- Access Stripe Dashboard - https://dashboard.stripe.com/settings/billing/portal
- Configure portal settings - Enable features you want available
- Save configuration - Portal won’t work without proper setup
404 Error Fix: If you see a 404 error when accessing the customer portal, you need to configure the customer portal settings in your Stripe dashboard: https://dashboard.stripe.com/test/settings/billing/portal
Paddle Configuration
For Paddle-powered paywalls:
- Customer portal is automatically available
- No additional setup required
- Features depend on your Paddle account tier
Available Features
Subscription Management
| Feature | Description | User Action |
|---|---|---|
| Plan Changes | Upgrade or downgrade subscription tiers | Select new plan and confirm |
| Cancellation | Cancel subscription with options for immediate or end-of-period | Choose cancellation timing |
| Pause Subscription | Temporarily suspend billing (if supported) | Set pause duration |
Payment Management
- Update payment methods - Add new cards, remove old ones
- Change billing address - Update tax and billing information
- Set default payment - Choose primary payment method
- Retry failed payments - Resolve billing issues
Account Information
- Billing history - View all past transactions
- Download invoices - Get PDF receipts
- Account details - Update contact information
Best Practices
User Experience
- Clear navigation - Make portal access easy to find
- Contextual links - Show portal access when relevant
Security
- User authentication - Portal requires user login
- Session management - Automatic logout for security
Troubleshooting
404 Error on Portal Access
- Cause: Payment processor portal not configured - Solution: Configure customer portal in Stripe/Paddle dashboard - Verification: Test portal access after configuration
Next Steps
After setting up customer portal access: